

Transform your space into a personal art gallery with this easy guide to creating a stunning, stress-free gallery wall. Learn how to plan, arrange, and hang your art like a pro.
Introduction
A gallery wall is a great way to showcase your personality, style, and favorite pieces of art in your home. Whether you’re an art lover or someone who just wants to make their space feel more curated, creating a gallery wall is an affordable and creative way to decorate. But the idea of planning and arranging a gallery wall might seem overwhelming.
In this guide, we’ll break down the process step by step to make it simple and enjoyable. By the end, you’ll have a beautiful, stress-free gallery wall that brings life and style to your home.
What You’ll Learn in This Guide
We’ll cover everything you need to know to create a gallery wall you’ll love. From choosing the right frames and artwork to arranging and hanging your pieces, you’ll learn how to put everything together in a way that’s cohesive and aesthetically pleasing. Plus, we’ll share tips on finding the perfect artwork, creating balance, and making the process easier than ever.
Step 1: Choose Your Art and Frames
Before you even start arranging, you’ll need to gather the artwork you want to display. Here are some tips for choosing the right pieces:
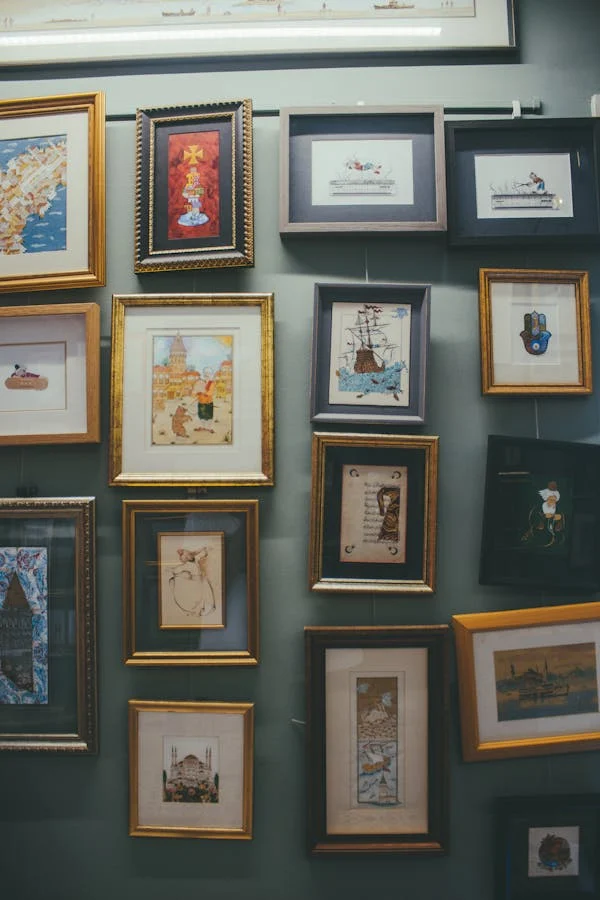
- Mix and Match: A successful gallery wall often combines different types of art, like paintings, photos, prints, and even personal memorabilia. Don’t be afraid to mix styles or themes. A bit of variety keeps the wall interesting.
- Stick to a Color Scheme: If you want a cohesive look, choose a color scheme for the art and frames. You can go with neutral tones for a minimalist vibe or pick vibrant pieces for a bold statement. Even mixing black and white photos with colorful prints can work well when the color palette ties them together.
- Personalize: Don’t forget about adding personal touches. Family photos, travel mementos, or even handwritten quotes can make your gallery wall feel more unique and meaningful.
- Frames: Choose frames that complement the style of your art. You don’t have to match them perfectly, but it’s a good idea to keep a consistent theme—such as all black frames, all gold frames, or various wood finishes.
Step 2: Plan Your Layout
Now that you’ve gathered your artwork and frames, it’s time to figure out where everything will go. Here’s how to plan the layout:
- Lay Everything Out on the Floor: Start by laying your pieces out on the floor before hanging them. This gives you the freedom to experiment and move things around until you find the right arrangement.
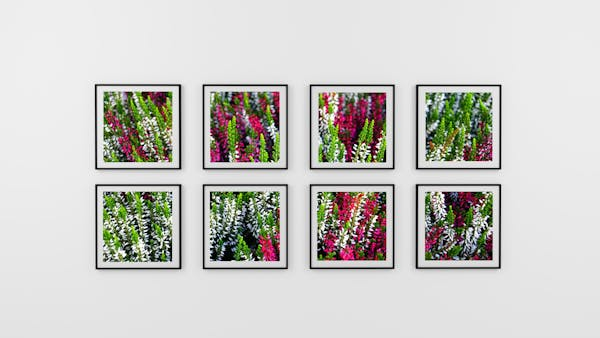
- Keep It Balanced: Aim for a balanced layout. This doesn’t mean everything has to be perfectly symmetrical, but try to balance the size and shape of your frames so that the composition feels well-proportioned.
- Start with a Central Piece: It often helps to start with the largest or most important piece in the middle and build out from there. You can create a more organic look by placing pieces off-center or in a loose grid pattern.
- Consider Spacing: For a clean and professional look, keep consistent spacing between your frames (usually about 2–4 inches). You can adjust the spacing based on the size of your wall, but aim for evenness.
Step 3: Prepare Your Wall
Before you start hanging anything, you need to make sure your wall is prepped for your gallery. Here’s how:
- Measure and Mark: Use a measuring tape to ensure your gallery wall is centered on the wall. Mark the spots where the top of each frame will go, and use a pencil to lightly mark where you’ll place your nails or screws.
- Leveling: Use a level to ensure that your frames are straight as you mark their positions. Even if you’re using multiple rows, it’s important that the frames are aligned for a polished look.
Step 4: Hang Your Artwork
Once your wall is prepped and you’ve decided where everything will go, it’s time to hang your artwork. Follow these steps to ensure everything goes smoothly:
- Use Proper Hanging Hardware: Depending on the weight of your frames, use the appropriate hanging hardware (such as picture hangers, nails, or screws). Heavy pieces should be anchored securely into the wall with a drill.
- Start from the Top: Begin by hanging the pieces in the top row and work your way down. This makes it easier to adjust your layout as you go.
- Use Picture Hanging Strips (Optional): If you don’t want to put holes in your wall, try using picture hanging strips. These are easy to use and remove, making them perfect for renters or anyone who wants to avoid wall damage.
Final Tips & Conclusion
- Be Patient: Take your time during each step. Hanging a gallery wall is a creative process, so there’s no rush to get everything perfect right away. Adjust as you go until you’re happy with the result.
- Don’t Be Afraid to Experiment: If you’re unsure about your layout, try rearranging a few pieces after hanging them. You can always make tweaks if something doesn’t feel quite right.
- Add Personal Touches: Whether it’s a quirky print, a mirror, or a vintage find, adding something personal can make your gallery wall truly unique.
Creating a gallery wall is a fun and rewarding way to showcase your style and add a personal touch to your home. With a little planning and patience, you can easily transform any wall into a stunning art display that reflects your taste and personality. So gather your favorite pieces, get creative, and enjoy the process!
A Real-Life Experience: My First Gallery Wall
I remember the first time I decided to create a gallery wall in my living room. My apartment felt a bit bare, and I had a stack of prints I’d been collecting over time. I was nervous about how to arrange them and whether it would turn out right. After laying the pieces out on the floor and taking some time to play with different combinations, I started to feel more confident.
The hardest part was hanging the frames! But once I got the first piece up, it all started to come together. By the end, I had a beautiful gallery wall that transformed the entire space. Now, every time I walk into my living room, I feel proud of the wall I created, and I can’t wait to keep adding new pieces to it.


