

Discover how reflective roof paint can reduce indoor temperatures, cut down on energy costs, and extend the life of your roof with this beginner-friendly tutorial.
Introduction
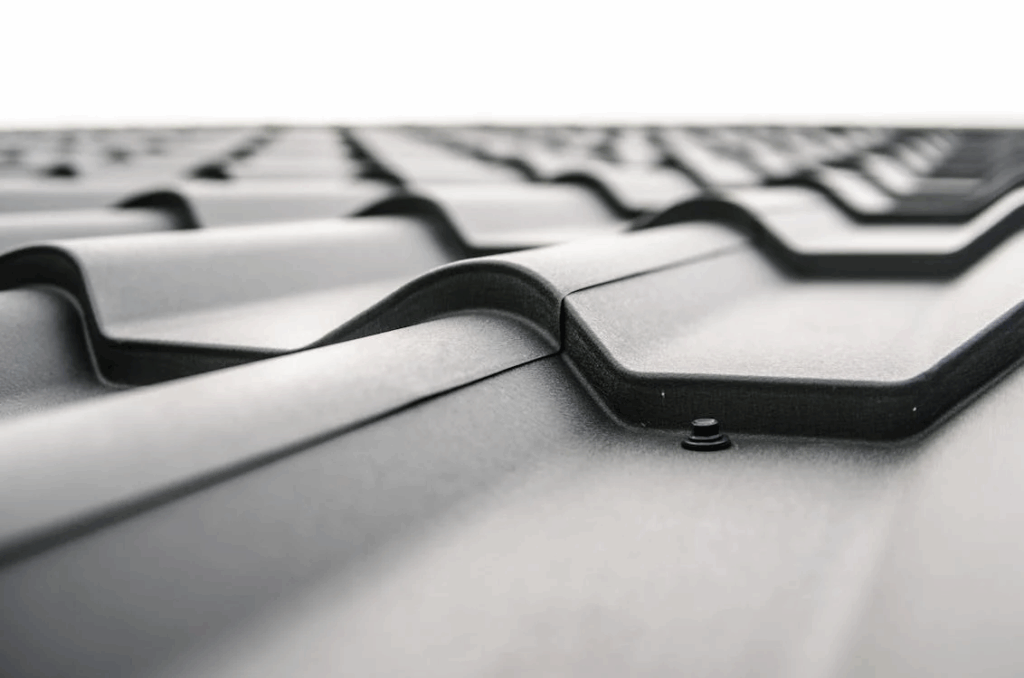
A hot roof means a hot house—especially in summer. Sunlight hitting a dark roof can raise its surface temperature to over 60°C (140°F), heating your attic and the rooms below. Reflective roof paint offers a simple, budget-friendly way to cool your home by deflecting solar radiation.
In this guide, you’ll learn how to choose the right cool roof coating, prepare your roof, and apply the paint for maximum performance and longevity.
What You’ll Learn in This Guide
We’ll walk you through the full process of painting your roof to reflect sunlight and reduce heat absorption. From selecting the proper type of paint to prepping the surface and applying the final coat, this tutorial is perfect for homeowners looking to improve indoor comfort while saving on energy bills.
Gather Your Materials
Before you begin, make sure you have the following supplies ready:
- Reflective or elastomeric roof paint (white or light-colored)
- Roof cleaner or pressure washer
- Scrub brush or broom
- Caulk or roofing sealant
- Paint roller with extension pole
- Angled paintbrush
- Safety gear: gloves, goggles, slip-resistant shoes
- Ladder or scaffolding (if needed)
- Tarp or drop cloth (optional)
Choose the Right Reflective Roof Coating
Look for paints labeled as “cool roof coating” or “elastomeric reflective coating.” Choose one that’s:
- UV-resistant
- Water- and mildew-resistant
- Suitable for your roof material (metal, asphalt, concrete, etc.)
- Light-colored or white for the best reflectivity
Step-by-Step Instructions
1. Clean the Roof Surface
Use a broom or pressure washer to remove debris, dirt, and algae. A clean surface ensures better adhesion of the coating.
2. Inspect and Repair Damage
Check for cracks, gaps, or peeling sections. Use roofing sealant or caulk to fix minor damage before painting.
3. Apply the First Coat of Reflective Paint
On a cool, dry day, start painting with a roller or sprayer. Use an angled brush for corners or seams. Apply in thin, even strokes.
4. Let It Dry Completely
Follow the manufacturer’s instructions, but most coatings need at least 4–6 hours of drying time between coats.
5. Apply the Second Coat
After the first coat dries, apply a second layer for maximum coverage and durability.
6. Allow Final Cure Time
Let the roof dry fully—usually 24–48 hours—before walking on it or expecting full heat-reflecting benefits.
Final Tips & Conclusion
- Always paint early in the morning or late afternoon to avoid extreme heat.
- Avoid painting on windy or rainy days.
- For sloped or tall roofs, consider hiring a pro for safety.
Painting your roof with a reflective coating is a smart and sustainable way to reduce indoor heat, improve comfort, and extend your roof’s lifespan. It’s a weekend project that pays off quickly—especially during hot summer months.
A Real-Life Experience: Painting My Roof for a Cooler Summer
Last summer, I could barely stand the heat in my upstairs bedroom. The AC was constantly running, and my electricity bills were through the roof—literally. That’s when I read about reflective roof paint and decided to give it a try.
I cleaned the surface, patched a few cracks, and rolled on two coats of white elastomeric paint. The difference was noticeable within a few days. The upper floor felt cooler, the AC ran less often, and my energy bill dropped by nearly 20%. It wasn’t just a cost-saving move—it also made my home more comfortable during the hottest weeks of the year.
If you’re looking for a smart DIY project with real impact, roof painting is one I highly recommend.


