

How to Paint a Room Like a Pro – A Step-by-Step Guide
Transform your space with our expert guide on how to paint a room like a pro. Follow our step-by-step instructions for a flawless finish and professional results!
Painting a room can dramatically change its look and feel, but achieving a professional finish requires the right techniques and preparation. Whether you’re refreshing a single room or giving your entire home a makeover, this guide will walk you through the process of painting like a pro. From preparation to finishing touches, you’ll learn everything you need to know to create a beautiful, polished space.
What You’ll Learn in This Guide
In this tutorial, you’ll discover the necessary tools, tips for preparation, painting techniques, and finishing touches to ensure your project is a success.
By the end of this guide, you’ll have the confidence to tackle your painting project with professional results.
1. Gather Your Tools and Materials
Before starting your painting project, ensure you have all the necessary tools and materials on hand.
Step 1: Tools You’ll Need
Make sure you have the following tools available:
- Paintbrushes (various sizes)
- Rollers and roller trays
- Painter’s tape
- Drop cloths or plastic sheeting
- Ladder or step stool
- Sandpaper (for smoothing surfaces)
- Putty knife (for filling holes)
- Paint can opener
- Paint stirrer
Step 2: Materials Required
Choose your paint and any other materials you may need:
- Quality interior paint (choose the finish that suits your room)
- Primer (if necessary)
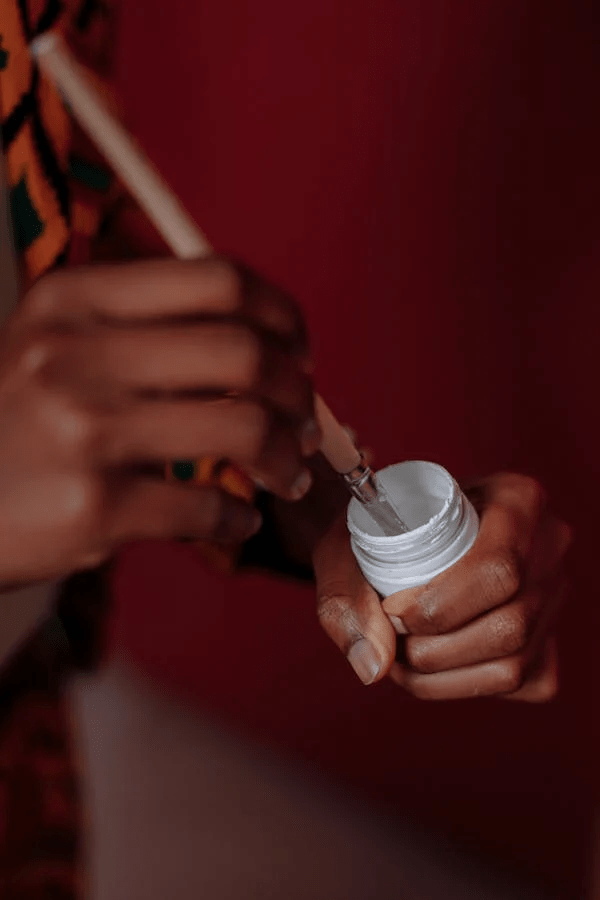
- Spackle or caulk (for filling holes and seams)
2. Prepare the Room
Preparation is key to a professional-looking paint job.
Step 1: Move Furniture and Cover Surfaces
Clear the room of furniture or move items to the center and cover them with drop cloths.
- Protect the Floor:
Lay down drop cloths or plastic sheeting to protect the flooring from paint spills.
Step 2: Clean the Walls
Wipe down the walls with a damp cloth to remove dust and dirt.
Step 3: Repair and Fill Holes
Inspect the walls for any holes or imperfections. Use spackle and a putty knife to fill any holes, and sand the area smooth once dry.
3. Tape Off Edges
To achieve clean lines and protect areas you don’t want to paint, tape off edges.
Step 1: Use Painter’s Tape
Apply painter’s tape along the edges of windows, door frames, baseboards, and any other areas that need protection.
- Press Firmly:
Make sure the tape is pressed down firmly to prevent paint from bleeding underneath.
4. Prime the Walls (if Necessary)
Depending on the color and condition of your walls, applying a primer may be necessary.
Step 1: Choose the Right Primer
Select a primer that suits your paint and the surface you’re working with.
Step 2: Apply Primer
Using a roller, apply the primer evenly across the walls, starting from the top and working your way down.
- Allow to Dry:
Follow the manufacturer’s instructions for drying time before applying paint.
5. Choose Your Paint and Finish
Select the paint color and finish that best suits your room.
Step 1: Consider the Finish
Common finishes include flat, eggshell, satin, semi-gloss, and high-gloss. Each finish has its own look and durability, so choose accordingly based on the room’s function.
6. Paint the Room
Now it’s time to start painting!
Step 1: Cut in the Edges
Using a brush, “cut in” around the edges of the walls, starting in the corners and along the taped areas.
- Use Short, Controlled Strokes:
This will create a clean line where the brush meets the tape.
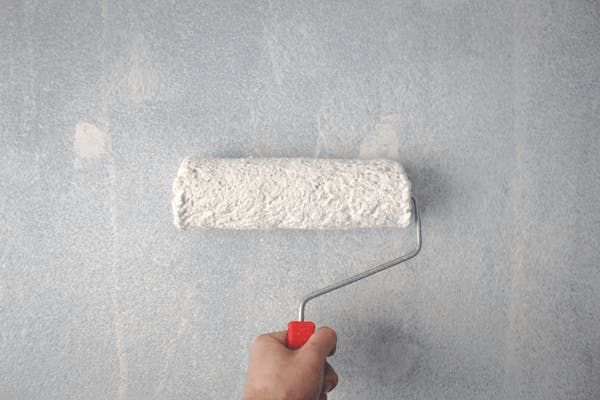
Step 2: Roll the Walls
After cutting in, use a roller to paint the larger wall areas.
- Load the Roller:
Dip the roller into the paint tray, roll off excess paint, and apply in a “W” or “M” pattern for even coverage.
Step 3: Apply Additional Coats
Allow the first coat to dry completely before assessing whether a second coat is necessary.
7. Remove Tape and Touch Up
Once the paint is dry, carefully remove the painter’s tape.
Step 1: Peel Tape at an Angle
Peel the tape back at a 45-degree angle to avoid pulling off any paint.
Step 2: Touch Up Edges
Use a small brush to touch up any areas where the paint may have bled or where the finish isn’t as desired.
8. Clean Up
After you’ve completed painting, clean up your workspace.
Step 1: Remove Drop Cloths and Furniture
Carefully remove drop cloths and move furniture back into place.
Step 2: Clean Brushes and Rollers
Clean your painting tools with soap and water (for water-based paints) or the appropriate solvent (for oil-based paints).
Final Tips & Conclusion
- Choose Quality Materials:
Invest in good-quality paint and tools for a better finish. - Take Your Time:
Rushing can lead to mistakes, so take your time to ensure each step is done properly. - Ventilate the Space:
Keep windows open or use fans to ensure proper ventilation while painting.
By following these steps and tips, you’ll be able to paint a room like a pro, achieving a beautiful, polished finish that transforms your space. Enjoy the satisfaction of your handiwork and the fresh look of your newly painted room! 🎨🖌️
A Real-Life Experience: My First DIY Room Painting
A few years ago, I decided to give my bedroom a fresh new look. I had never painted a room before, but I figured, “How hard can it be?” Spoiler: It was harder than I thought!
I picked out a beautiful deep blue shade, gathered my supplies, and got started. The first mistake? I didn’t use painter’s tape properly. I thought I could paint carefully enough without it—big mistake! By the time I finished the first coat, I realized my brushstrokes had bled onto the ceiling and baseboards.
Then came the roller. I had no idea there was a right and wrong way to roll paint on the wall. I started applying paint in random directions, leading to uneven coverage and streaks. I also didn’t realize how long it takes for the first coat to dry, so I rushed into the second coat, smudging areas that weren’t ready yet.
After some frustrating touch-ups and a lot of learning on the fly, I finally finished. Despite the mistakes, stepping back and seeing the transformation was incredibly rewarding. The room looked brand new, and I felt proud of my DIY effort.
That experience taught me that painting a room isn’t just about slapping paint on the walls—it requires patience, the right tools, and proper technique. That’s why I created this guide—to help you avoid my beginner mistakes and achieve a professional-looking finish the first time. Follow these steps, and you’ll transform your space with confidence! 🎨🖌️


